OCR Scanner In Laravel
An OCR (Optical Character Recognition) scanner is a tool that converts printed or handwritten text from images or scanned documents into readable or editable text.
OCR technology is used in various applications including digitizing books and documents, automating data entry processes, processing passports in airports, extracting information from images for research, and aiding visually impaired individuals by converting written content into speech or braille output. It's a crucial component in many modern systems where bridging the gap between physical text and digital data is needed.
So In this tutorial, you will learn how to implement it in Laravel applications.
For implementing OCR in Laravel applications, We will use Tesseract OCR Engine and its Package. So follow the given steps for a successful installation and implementation process.
Install Tesseract OCR Engine
Please refer to this tutorial to install Tesseract. If already installed then skip this step.
Implementation
In this process, we will make a Laravel project and Implement OCR Scanning. It has multiple steps, So follow all the steps for successful implementation.
Step 1: Create Laravel Project
Open your terminal or command prompt and run the following command to create Laravel project:
composer create-project laravel/laravel laravel-ocr
Step 2: Navigate project directory
cd laravel-ocr
Step 3: Install Tesseract Package
Use Composer to install the thiagoalessio/tesseract-ocr package in your Laravel project.
composer require thiagoalessio/tesseract_ocr
Step 4: Create Controller
Create OCRController using the artisan command to handle the image upload and OCR processing:
php artisan make:controller OCRController
Step 5: Write code
Now write code for image upload and scan text from the image.
Fisrt, Import the TesseractOCR from thiagoalessio\TesseractOCR. Then validate the coming image and with the help of Tesseract scan text from the image and return to the view page.
<?phpnamespace App\Http\Controllers;use Illuminate\Http\Request;use thiagoalessio\TesseractOCR\TesseractOCR;class OCRController extends Controller{public function index(Request $request){$request->validate(['image' => 'required|mimes:png,jpg,jpeg']);$image=$request->image;$ocr=new TesseractOCR($image);$text = $ocr->lang('eng')->run();return back()->with('text',$text);}}
Step 6: Create Blade File
To create a Blade file that will allow you to upload an image and display the text read by OCR.
resources/views/welcome.blade.php
<!DOCTYPE html><html lang="en"><head><title>Laravel Image Uploadtitle</title><link href="https://cdn.jsdelivr.net/npm/bootstrap@5.2.3/dist/css/bootstrap.min.css" rel="stylesheet"><script src="https://cdn.jsdelivr.net/npm/bootstrap@5.2.3/dist/js/bootstrap.bundle.min.js"></script></head><body><div class="container mt-5"><div class="row" style="height: 300px"><div class="col-6 border p-3"><form action="{{route('ocr-scaning')}}" method="post" enctype="multipart/form-data">@csrf<div><input type="file" name="image" class="form-control" required>@error('image')<span class="text-danger">{{ $message }}</span>@enderror</div><button class="btn btn-primary mt-2">Scan</button></form></div><div class="col-6 border p-3">@if(session('text')){{session('text')}}@endif</div></div></div></body></html>
Step 7: Setup Routes
Add the routes for the image upload form and processing in your web.php routes file:
<?phpuse Illuminate\Support\Facades\Route;use App\Http\Controllers\OCRController;Route::get('/', function () {return view('welcome');});Route::post('/ocr-scaning',[OCRController::class,'index'])->name('ocr-scaning');
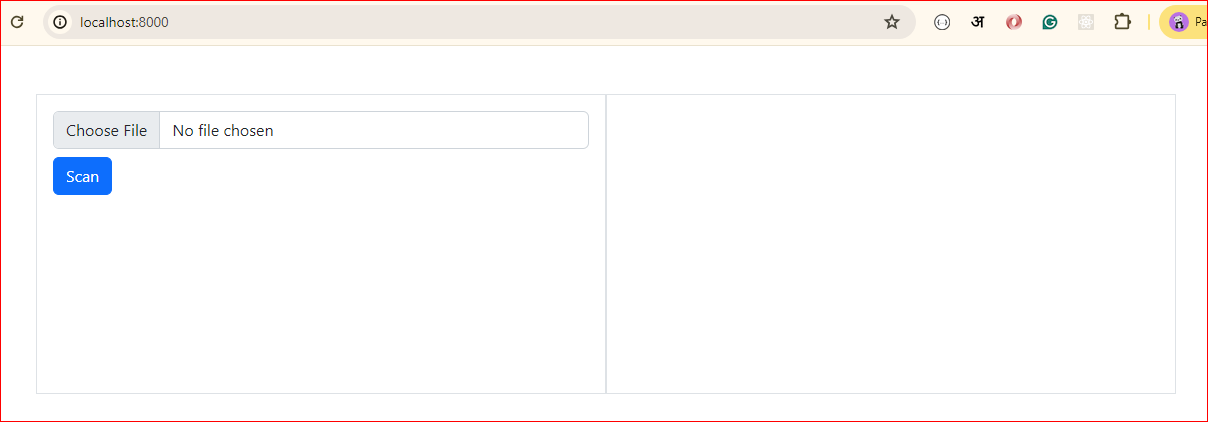
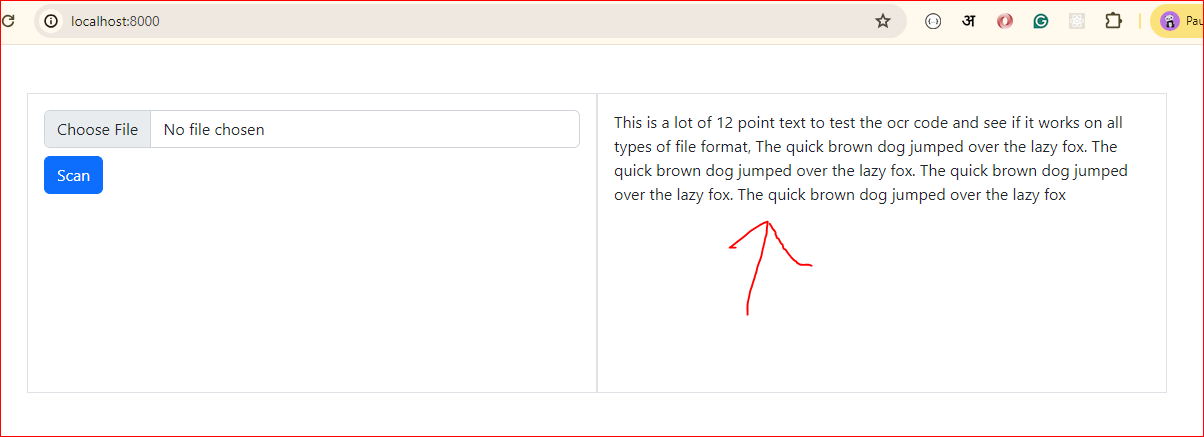
Step 8: Test
Start your Laravel development server:
php artisan serve
Navigate to http://localhost:8000/upload in your web browser. You should see the image upload form. Upload an image, and after submission, the text read by OCR should be displayed in the result section.